YelpCamp Refactor
by Ian Schoonover
Google Maps
We'll be adding a location feature to our application, using the Google Maps API
I'll be working from the YelpCamp > v11 version which can be found here
Overview
- Sign up for a google developer account
- Get Google Maps API Key
- Restrict Google Maps API Key
- Enable Geocoding API
- Get another key for Geocoding API
- Add to application as ENV variable
-
Add Google Maps scripts to your application
- Display the campground location in show.ejs
- Update campground model
-
Update new and edit forms
- Add location input field
- Update campground routes
Sign up for a google developer account
If you already have a google (or gmail) account, you can skip this step.
If not, then go to https://accounts.google.com/SignUp
and create one (it's free).
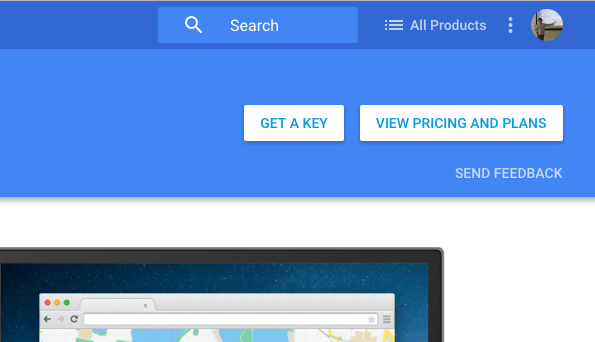
Get Google Maps API Key
Sign into your google account the navigate to https://developers.google.com/maps/web/
in your browser and click "GET A KEY"
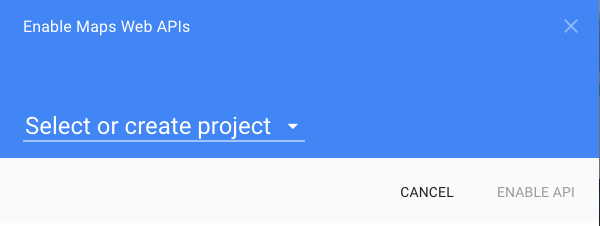
Get Google Maps API Key
Click on "Select or create project" dropdown then click "Create a new project"

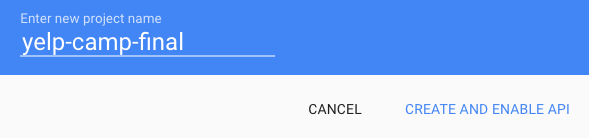
Get Google Maps API Key
Enter a name for your project then click "CREATE AND ENABLE API"
Now copy the API key and store it somewhere so it can be used later...
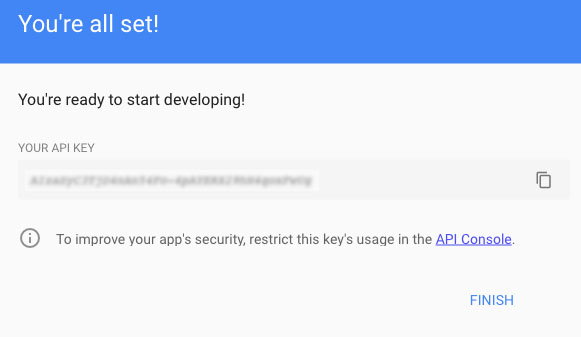
Click here to copy
*Do not click FINISH yet
Get Google Maps API Key
Click on "API Console" where it says "To improve your app's security, restrict this key's usage in the API Console."
Restrict Google Maps API Key
- From the restrictions page, select HTTP referrers (web sites) then enter in the following urls:
-
Your local development URL, if you're working locally
(e.g., http://localhost:3000/*)- Important! Be sure to remove this one when you're done developing
- Your Cloud9 preview URL, if you're working from C9
(e.g., https://node-nax3t.c9users.io/* - Your Heroku application URL, if your site is in production
(e.g., https://yelpcamp2017.herokuapp.com/* - When you're done entering the URL's click Save
- See next slide for screenshot example
This step is crucial for protecting your API key
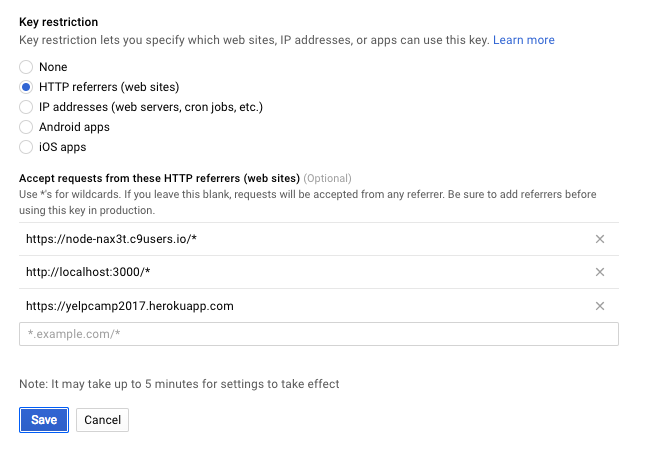
Restrict Google Maps API Key
Enable Geocoding API
- Go back to the google developer console
- Sign in and ENABLE the Google Maps Geocoding API
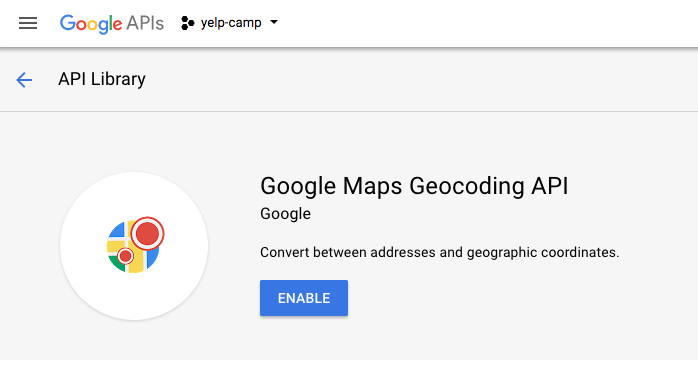
*If the link from above doesn't take you to the geocoding API then search for it in the API library
Get another key for Geocoding API
- Go to the credentials page for your project
- Click create credentials and select API Key
*If the link from above doesn't take you to the credentials page then click the key from the left-hand menu

Add key to application as ENV variable
- Copy the key from the previous step and export it as an ENV variable from your terminal
export GEOCODER_API_KEY=your-key-here- You can also do this with dotenv, which will allow your keys to persist each time you close/restart your terminal
- Use the following command to export the key in production (with Heroku)*
- *If you haven't deployed your application yet then you can skip this last step
heroku config:set GEOCODER_API_KEY=your-key-hereAdd Google Maps scripts to your application
Open /campgrounds/show.ejs in your code editor and add the following scripts to the bottom of the view, right above where we include the footer partial:
<script>
  function initMap() {
    var lat = <%= campground.lat %>;
    var lng = <%= campground.lng %>;
    var center = {lat: lat, lng: lng };
    var map = new google.maps.Map(document.getElementById('map'), {
        zoom: 8,
        center: center,
        scrollwheel: false
    });
    var contentString = `
      <strong><%= campground.name %><br />
      <%= campground.location %></strong>
      <p><%= campground.description %></p>
    `
    var infowindow = new google.maps.InfoWindow({
      content: contentString
    });
    var marker = new google.maps.Marker({
        position: center,
        map: map
    });
    marker.addListener('click', function() {
      infowindow.open(map, marker);
    });
  }
</script>
<script async defer src="https://maps.googleapis.com/maps/api/js?key=API-KEY-HERE&callback=initMap"></script>
*be sure to replace API-KEY-HERE with the first key (with restrictions) that you created earlier
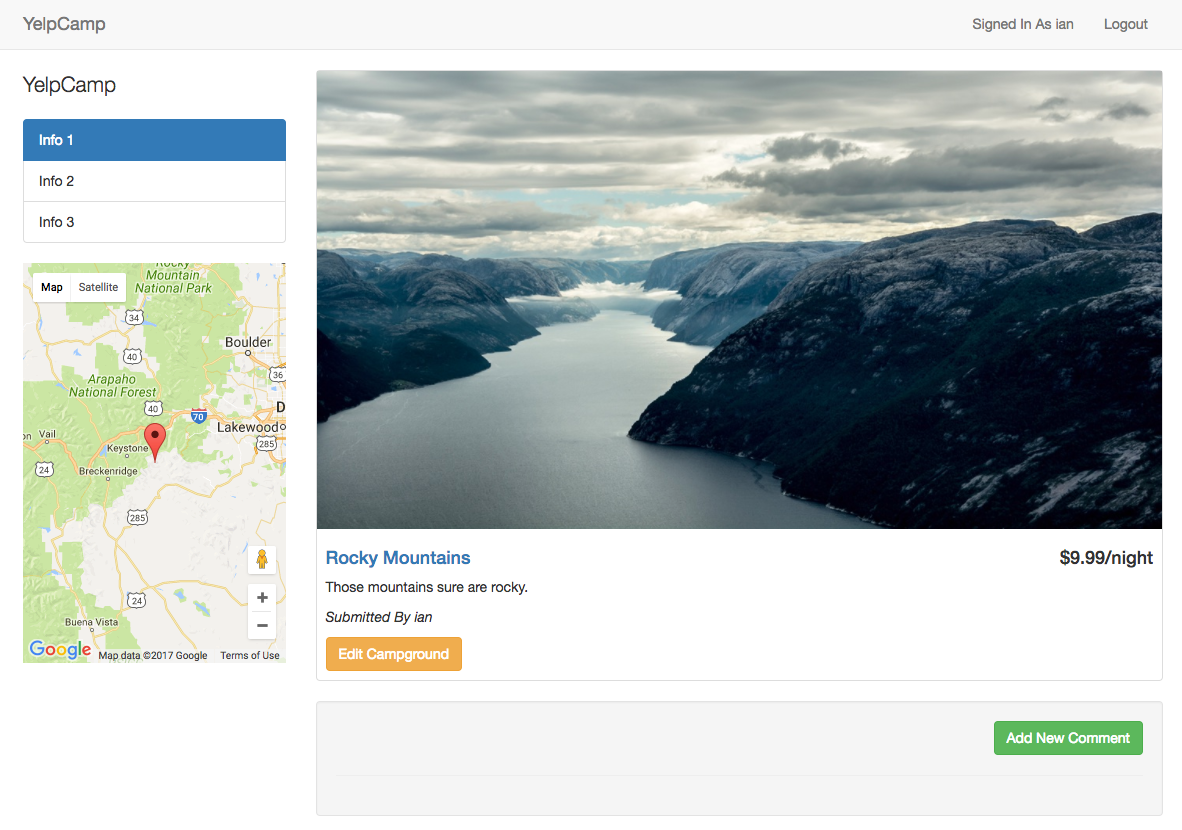
Display the campground location in show.ejs
Create a div with an id of map directly beneath where you have the Info 1, 2 and 3 .list-group inside of .col-md-3:
<div class="col-md-3">
  <p class="lead">YelpCamp</p>
  <div class="list-group">
    <li class="list-group-item active">Info 1</li>
    <li class="list-group-item">Info 2</li>
    <li class="list-group-item">Info 3</li>
  </div>
  <div id="map"></div>
</div>
The JavaScript from the previous slide will select this div and use it to generate the map
Display the campground location in show.ejs
Open /public/stylesheets/main.css and add the following to your stylesheet:
/* Google Maps */
#map {
    height: 400px;
    width: 100%;
}
Update Campground Model
- Open /models/campground.js
- Add location: String, lat: Number, and lng: Number to the campgroundSchema:
var mongoose = require("mongoose");
var campgroundSchema = new mongoose.Schema({
name: String,
image: String,
description: String,
location: String,
lat: Number,
lng: Number,
author: {
id: {
type: mongoose.Schema.Types.ObjectId,
ref: "User"
},
username: String
},
comments: [
{
type: mongoose.Schema.Types.ObjectId,
ref: "Comment"
}
]
});
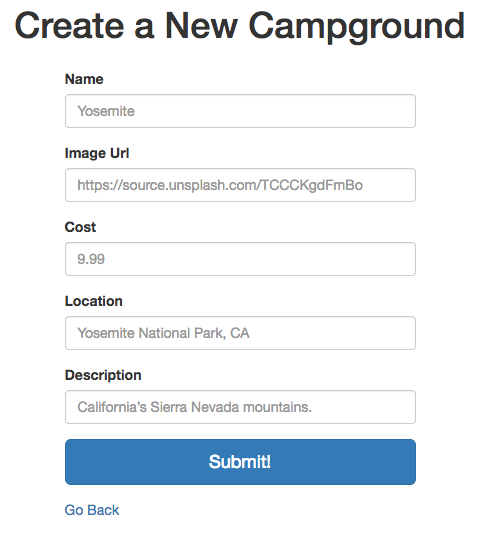
module.exports = mongoose.model("Campground", campgroundSchema);Update new and edit forms
- Open /views/campgrounds/new.ejs
- Add an input for location, right below the existing inputs:
<div class="form-group">
    <label for="location">Location</label>
    <input class="form-control" type="text" name="location" id="location" placeholder="Yosemite National Park, CA">
</div>
<div class="form-group">
<label for="location">Location</label>
<input class="form-control" type="text" name="location" id="location" value="<%= campground.location %>">
</div>- Open /views/campgrounds/edit.ejs
- Add an input for location right below the existing inputs:
*I've added a label to the location input, I suggest adding labels to the other inputs as well. You can see how I did it here.
Update campground routes
- Install geocoder to your project via the terminal (command line)
npm i -S node-geocoder- Open /routes/campgrounds.js and add the following code below where you require your middleware
var NodeGeocoder = require('node-geocoder');

var options = {
  provider: 'google',
  httpAdapter: 'https',
  apiKey: process.env.GEOCODER_API_KEY,
  formatter: null
};

var geocoder = NodeGeocoder(options);
Update campground routes
- Rewrite your router.post('/', ...) route as follows:
//CREATE - add new campground to DB
router.post("/", middleware.isLoggedIn, function(req, res){
  // get data from form and add to campgrounds array
  var name = req.body.name;
  var image = req.body.image;
  var desc = req.body.description;
  var author = {
      id: req.user._id,
      username: req.user.username
  }
  geocoder.geocode(req.body.location, function (err, data) {
    if (err || !data.length) {
      req.flash('error', 'Invalid address');
      return res.redirect('back');
    }
    var lat = data[0].latitude;
    var lng = data[0].longitude;
    var location = data[0].formattedAddress;
    var newCampground = {name: name, image: image, description: desc, author:author, location: location, lat: lat, lng: lng};
    // Create a new campground and save to DB
    Campground.create(newCampground, function(err, newlyCreated){
        if(err){
            console.log(err);
        } else {
            //redirect back to campgrounds page
            console.log(newlyCreated);
            res.redirect("/campgrounds");
        }
    });
  });
});
Update campground routes
- Rewrite your router.put('/', ...) route as follows:
// UPDATE CAMPGROUND ROUTE
router.put("/:id", middleware.checkCampgroundOwnership, function(req, res){
  geocoder.geocode(req.body.location, function (err, data) {
    if (err || !data.length) {
      req.flash('error', 'Invalid address');
      return res.redirect('back');
    }
    req.body.campground.lat = data[0].latitude;
    req.body.campground.lng = data[0].longitude;
    req.body.campground.location = data[0].formattedAddress;

    Campground.findByIdAndUpdate(req.params.id, req.body.campground, function(err, campground){
        if(err){
            req.flash("error", err.message);
            res.redirect("back");
        } else {
            req.flash("success","Successfully Updated!");
            res.redirect("/campgrounds/" + campground._id);
        }
    });
  });
});
Important Note
- If you're working locally then don't forget to go back to your google developer dashboard and remove the http://localhost:3000/* restriction from your API key as soon as you're done developing the app
- If you leave it there and someone gets access to your key (remember, it's in your show.ejs view so anyone can see it if your site is on github or heroku, etc.) then they could use it maliciously and cost you money or get your account suspended
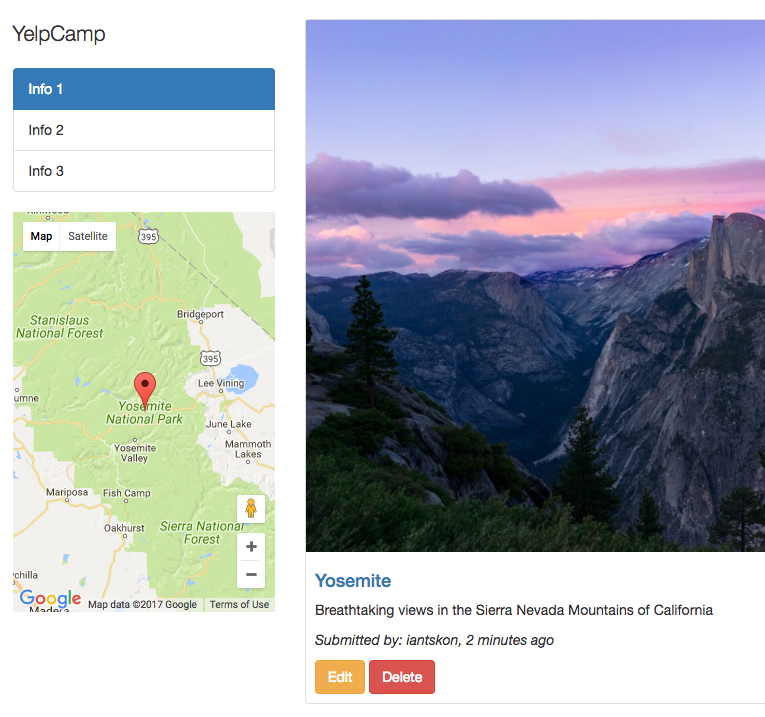
Congratulations! Your YelpCamp app now has a Google Maps location feature
If you have any questions then please create a thread in the Q&A
You can find the source code for this tutorial in the google-maps directory of my c9 workspace